How to Install 3 Piece Front & Rear Engine & Manual Trans Mount Kit
Engine mounts absorb vibration and secure your engine to the vehicle frame. Over time, the rubber deteriorates causing excessive vibration, clunking noises, and potential damage to other drivetrain components. Replacing all mounts together ensures balanced support and prevents premature wear on new parts.
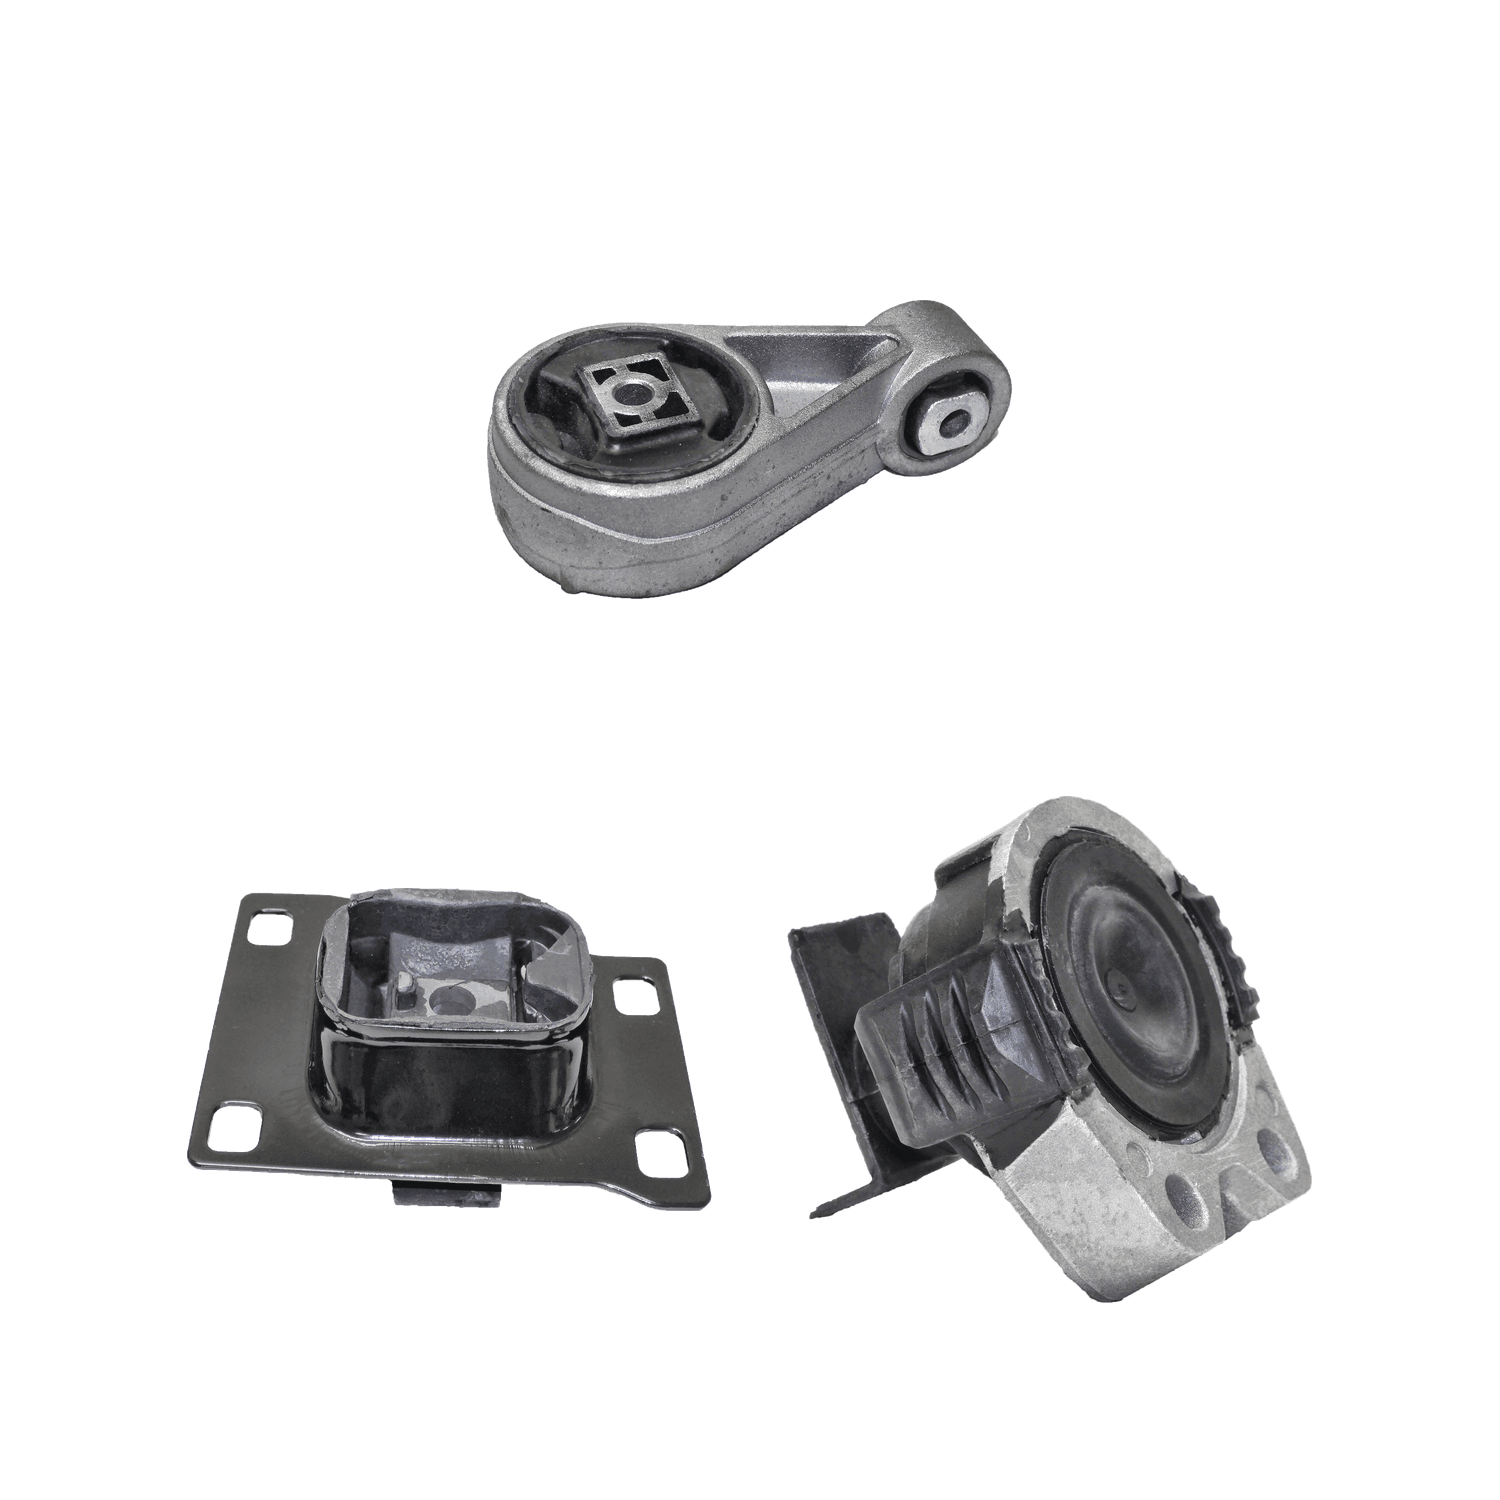
What's Included (3 pieces)


- Always support the engine before removing mounts - failure to do so can cause serious injury or death
- Wear safety glasses and gloves when working under the vehicle
- Do not work under a vehicle supported only by a jack - always use jack stands
- Allow engine to cool before working to prevent burns
Installation Steps
Prepare the Vehicle
Park on a level surface and engage the parking brake. Disconnect the negative battery terminal. Allow the engine to cool if recently driven.
Support the Engine
Position an engine support bar across the fender wells, or use a floor jack with a block of wood under the oil pan. The engine must be properly supported before removing any mounts.
Remove the Old Mounts
Locate all engine mounts. Spray penetrating oil on bolts and let soak for 10-15 minutes. Remove the through-bolts first, then the mounting bracket bolts. Work one mount at a time.
Compare Old and New Parts
Before installation, compare each old mount to its replacement. Verify bolt hole patterns, stud positions, and overall dimensions match. Check that rubber is intact on new mounts.
Install New Mounts
Install the new mounts in reverse order of removal. Hand-thread all bolts first before tightening. This allows for alignment adjustments. Start with the transmission mount, then engine mounts.
Torque to Specification
Tighten all mounting bolts to manufacturer specifications using a torque wrench. Typical torque values range from 35-55 ft-lbs depending on the vehicle.
Remove Support and Test
Carefully lower and remove the engine support. Reconnect the battery. Start the engine and check for proper operation. Listen for any unusual noises and verify smooth idle.
Tools Required
- Floor jack and jack stands
- Socket set (metric and standard)
- Torque wrench
- Pry bar
- Penetrating oil (PB Blaster)
- Engine support bar or transmission jack
- Safety glasses and gloves