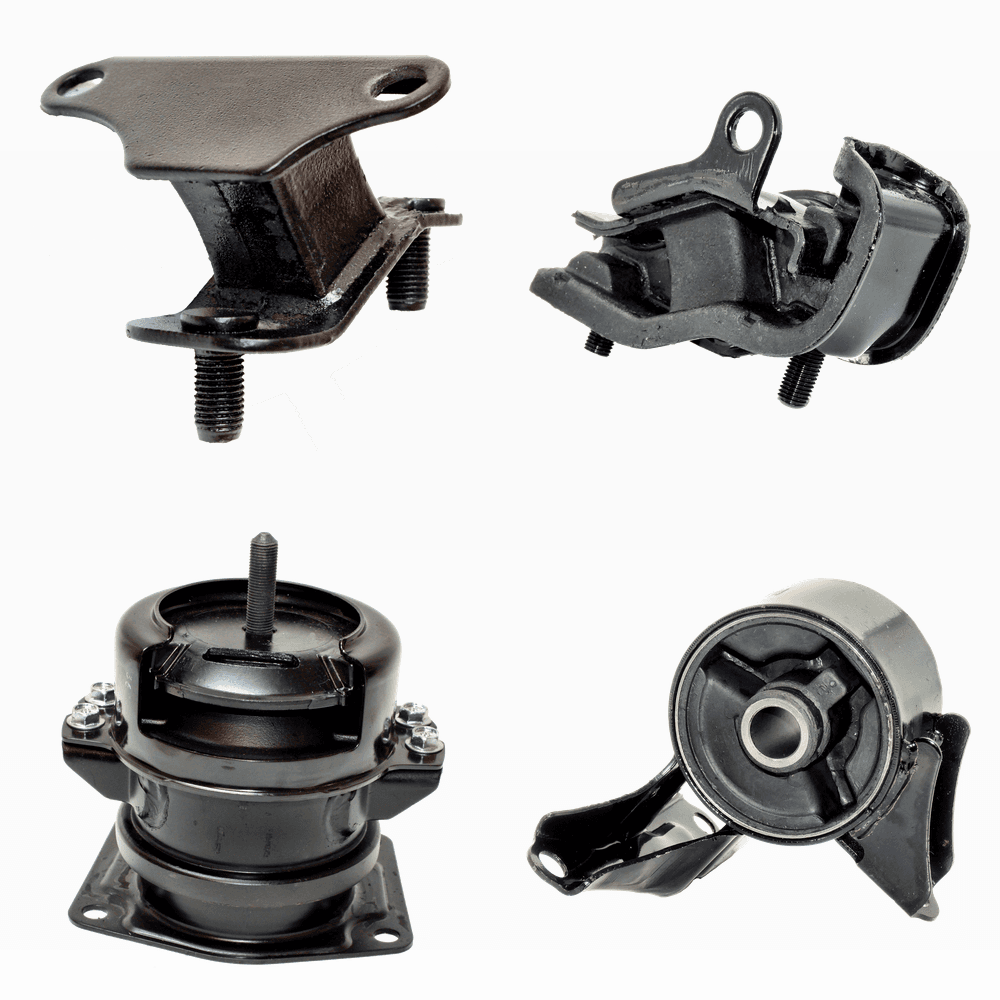
ETK-2416
How to install the 4-Piece Front Rear Right Engine & Auto Trans Mount Set
Pick your car in the car picker at the top of the page to check it fits and see the notes for your car.
All 3 cars it fits
| Years | Make | Model | Engine | Choose |
|---|---|---|---|---|
| 1999–2004 | Honda | Odyssey | V6 3.5L | |
| 2001–2003 | Acura | CL | V6 3.2L | |
| 2000–2003 | Acura | TL | V6 3.2L |
What's in the box 4 pieces
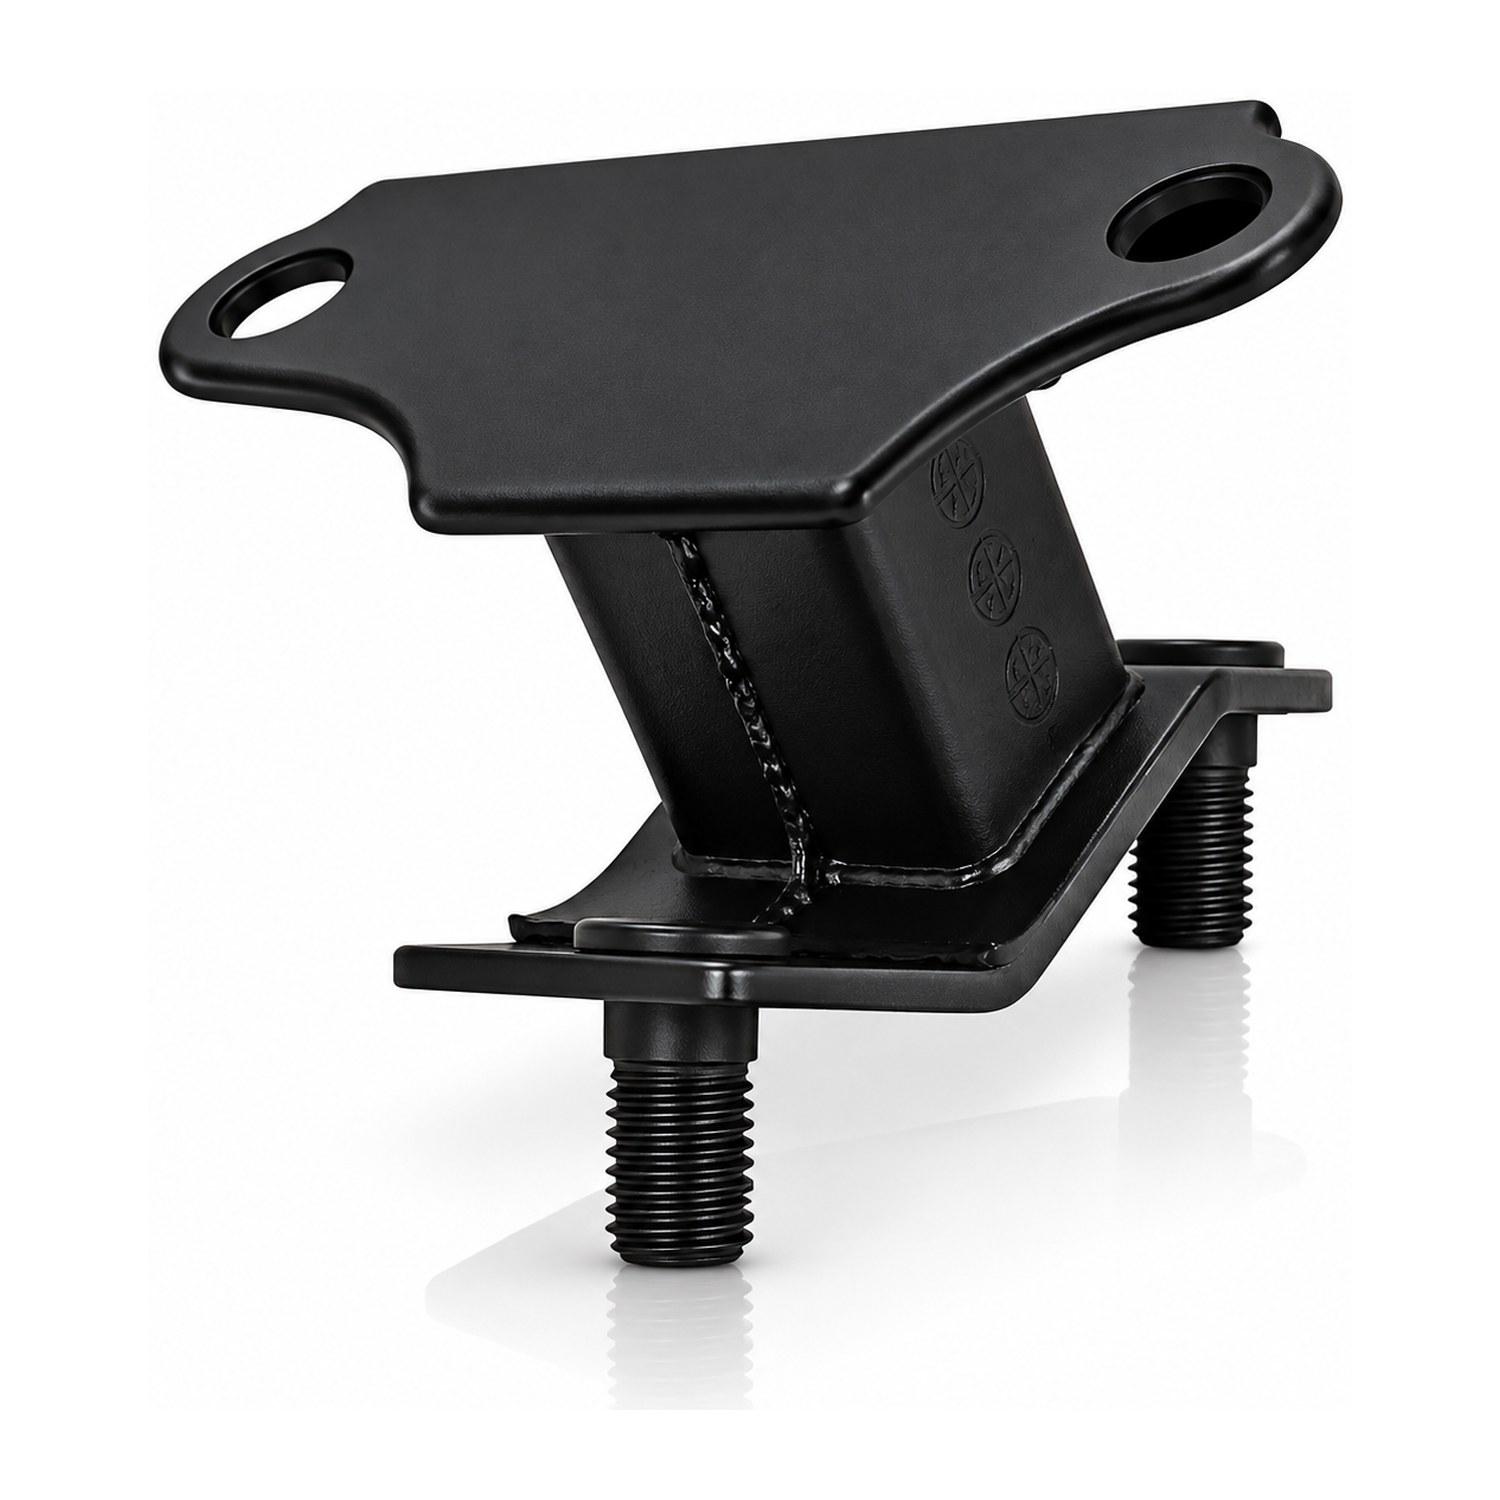 1
Automatic Transmission Mount
Rear or Rear Left
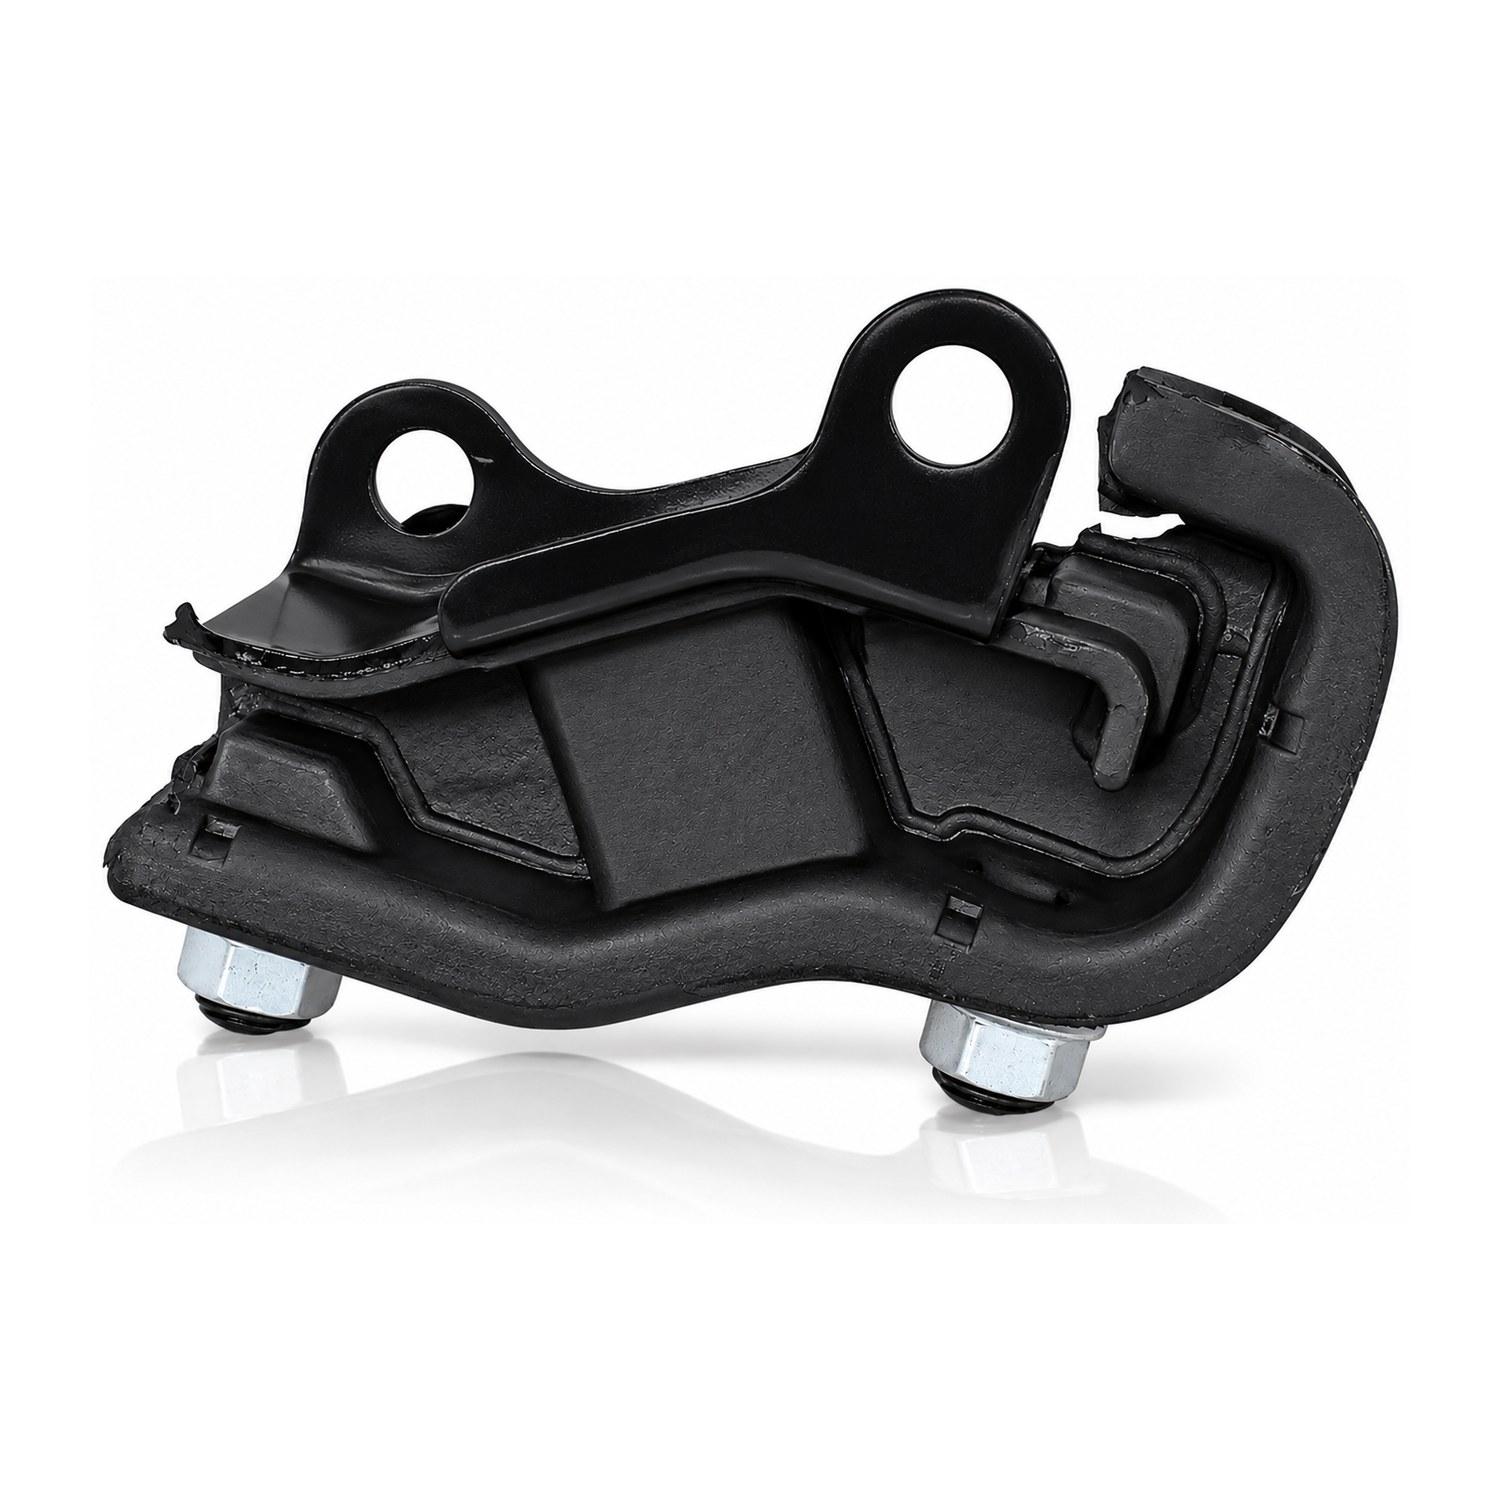 2
Front Automatic Transmission Mount
Front
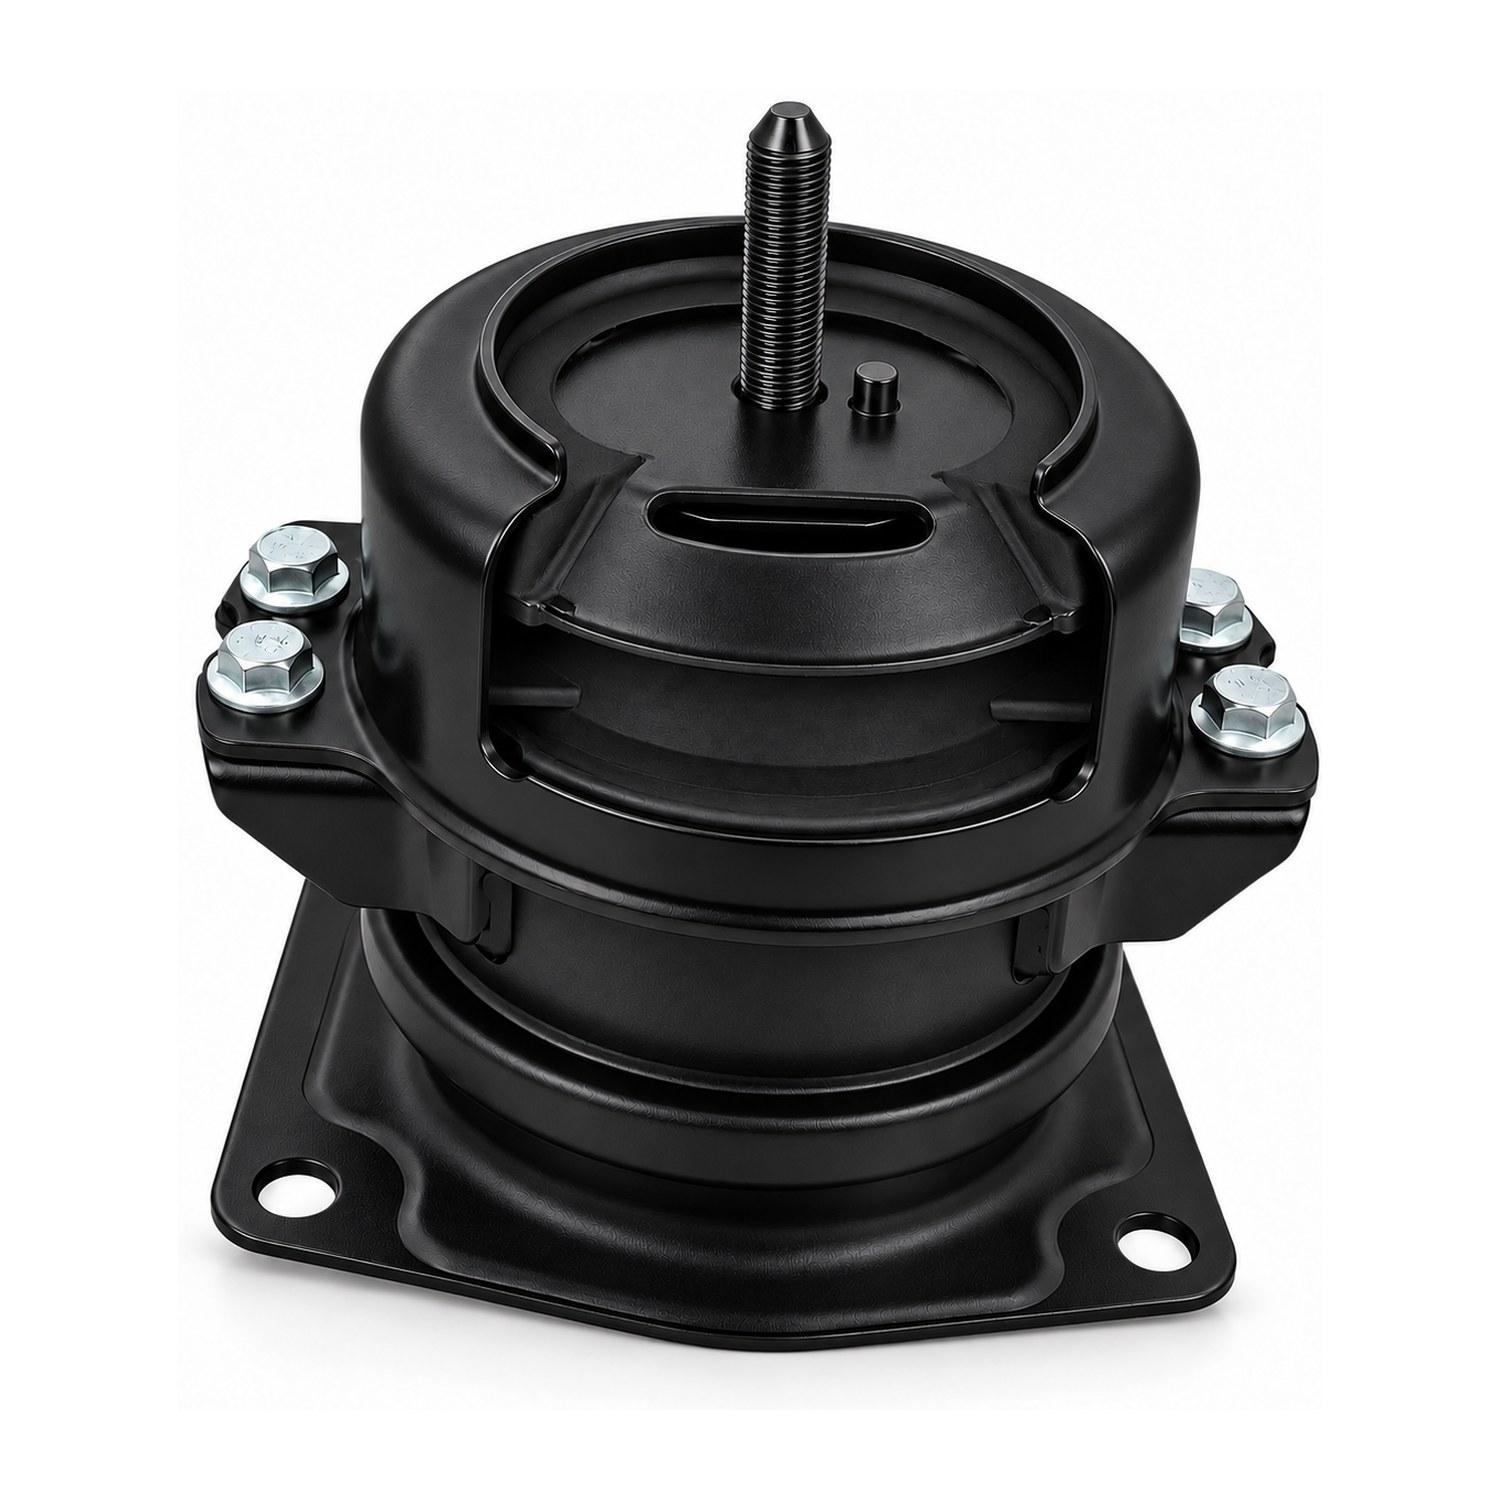 3
Front Engine Mount
Front
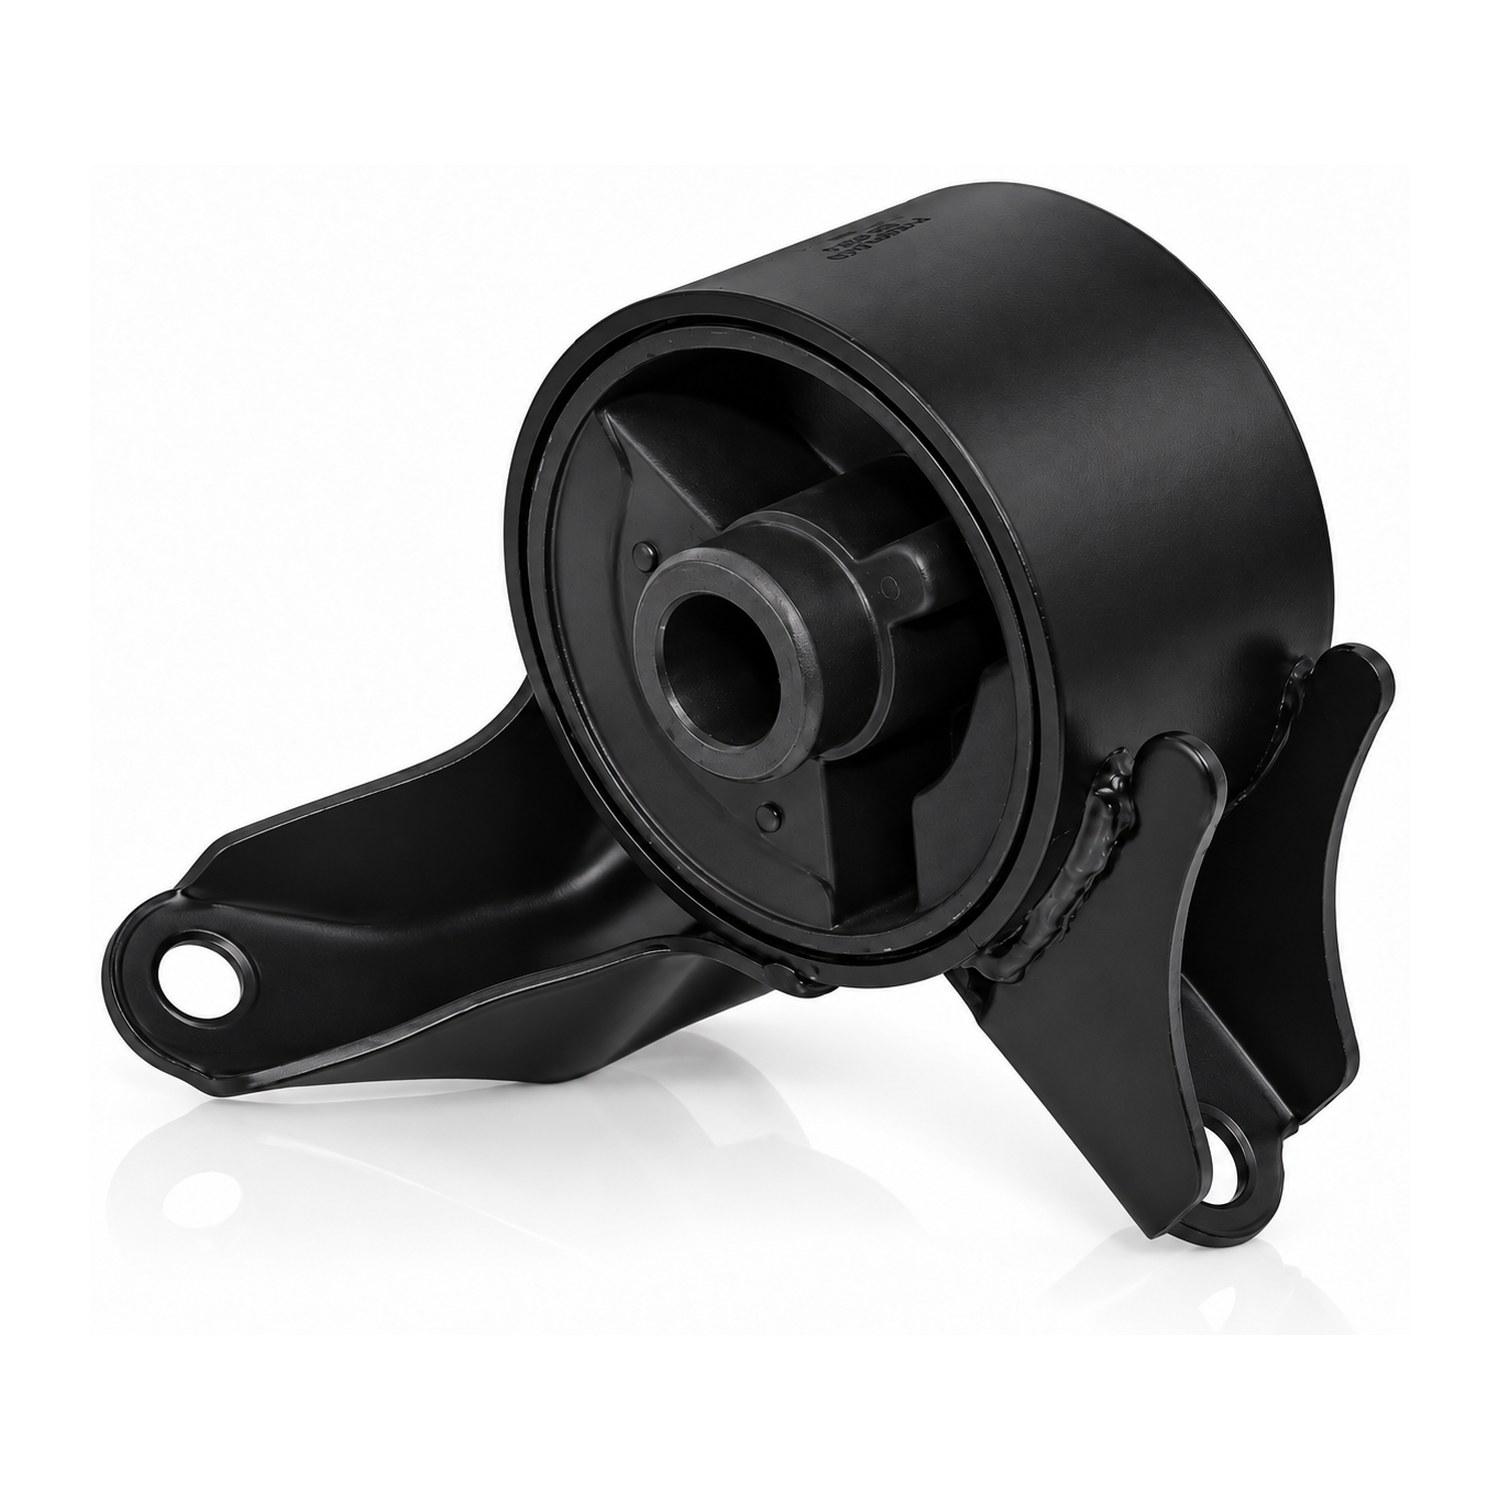 4
Engine Mount
Front Right or Right
Where each piece goes
- 1Automatic Transmission Mount: Rear or Rear Left
- 2Front Automatic Transmission Mount: Front
- 3Front Engine Mount: Front
- 4Engine Mount: Front Right or Right
Install steps
- 1
Get the car ready
Park on level ground, set the parking brake and disconnect the battery. Lift the car and support it on jack stands.
- 2
Support the engine
Put a jack with a block of wood under the oil pan, or use an engine support bar. Do this before you take out any mount.
- 3
Automatic Transmission Mount
Rear or Rear Left. Remove the old mount and bolt the new one in hand-tight.
- 4
Front Automatic Transmission Mount
Front. Remove the old mount and bolt the new one in hand-tight.
- 5
Front Engine Mount
Front. Remove the old mount and bolt the new one in hand-tight.
- 6
Engine Mount
Front Right or Right. Remove the old mount and bolt the new one in hand-tight.
- 7
Tighten, lower, test
Lower the engine back down and tighten every bolt to your car's spec. Reconnect the battery, start the engine and check for movement or noise.
Torque values: Use the torque values in your car's service manual. We only show a number here once it is checked for your car.