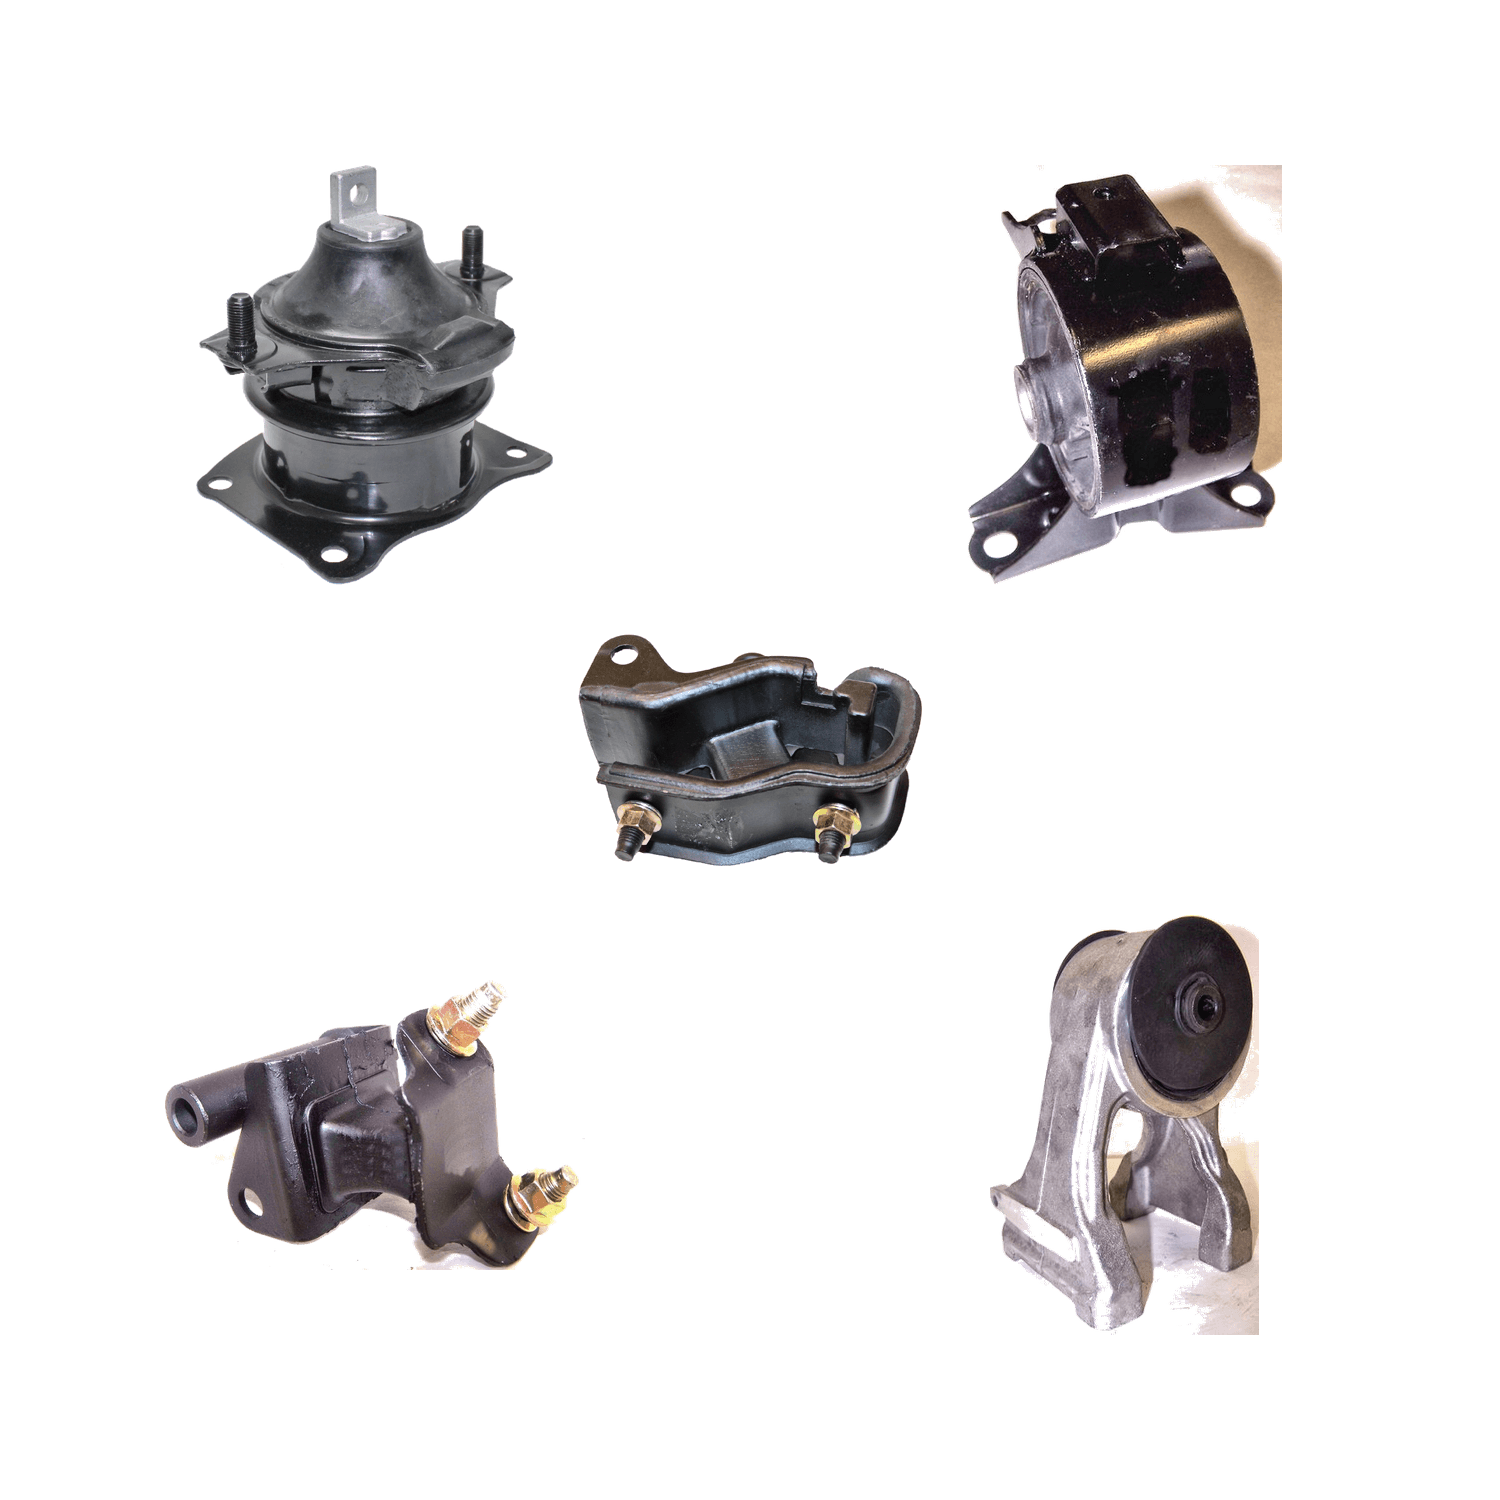
ETK-234
How to install the 5 Piece Front & Rear Engine & Auto Trans Mount Kit
Pick your car in the car picker at the top of the page to check it fits and see the notes for your car.
The car it fits
| Years | Make | Model | Engine | Choose |
|---|---|---|---|---|
| 2008–2010 | Honda | Odyssey | V6 3.5L |
What's in the box 5 pieces
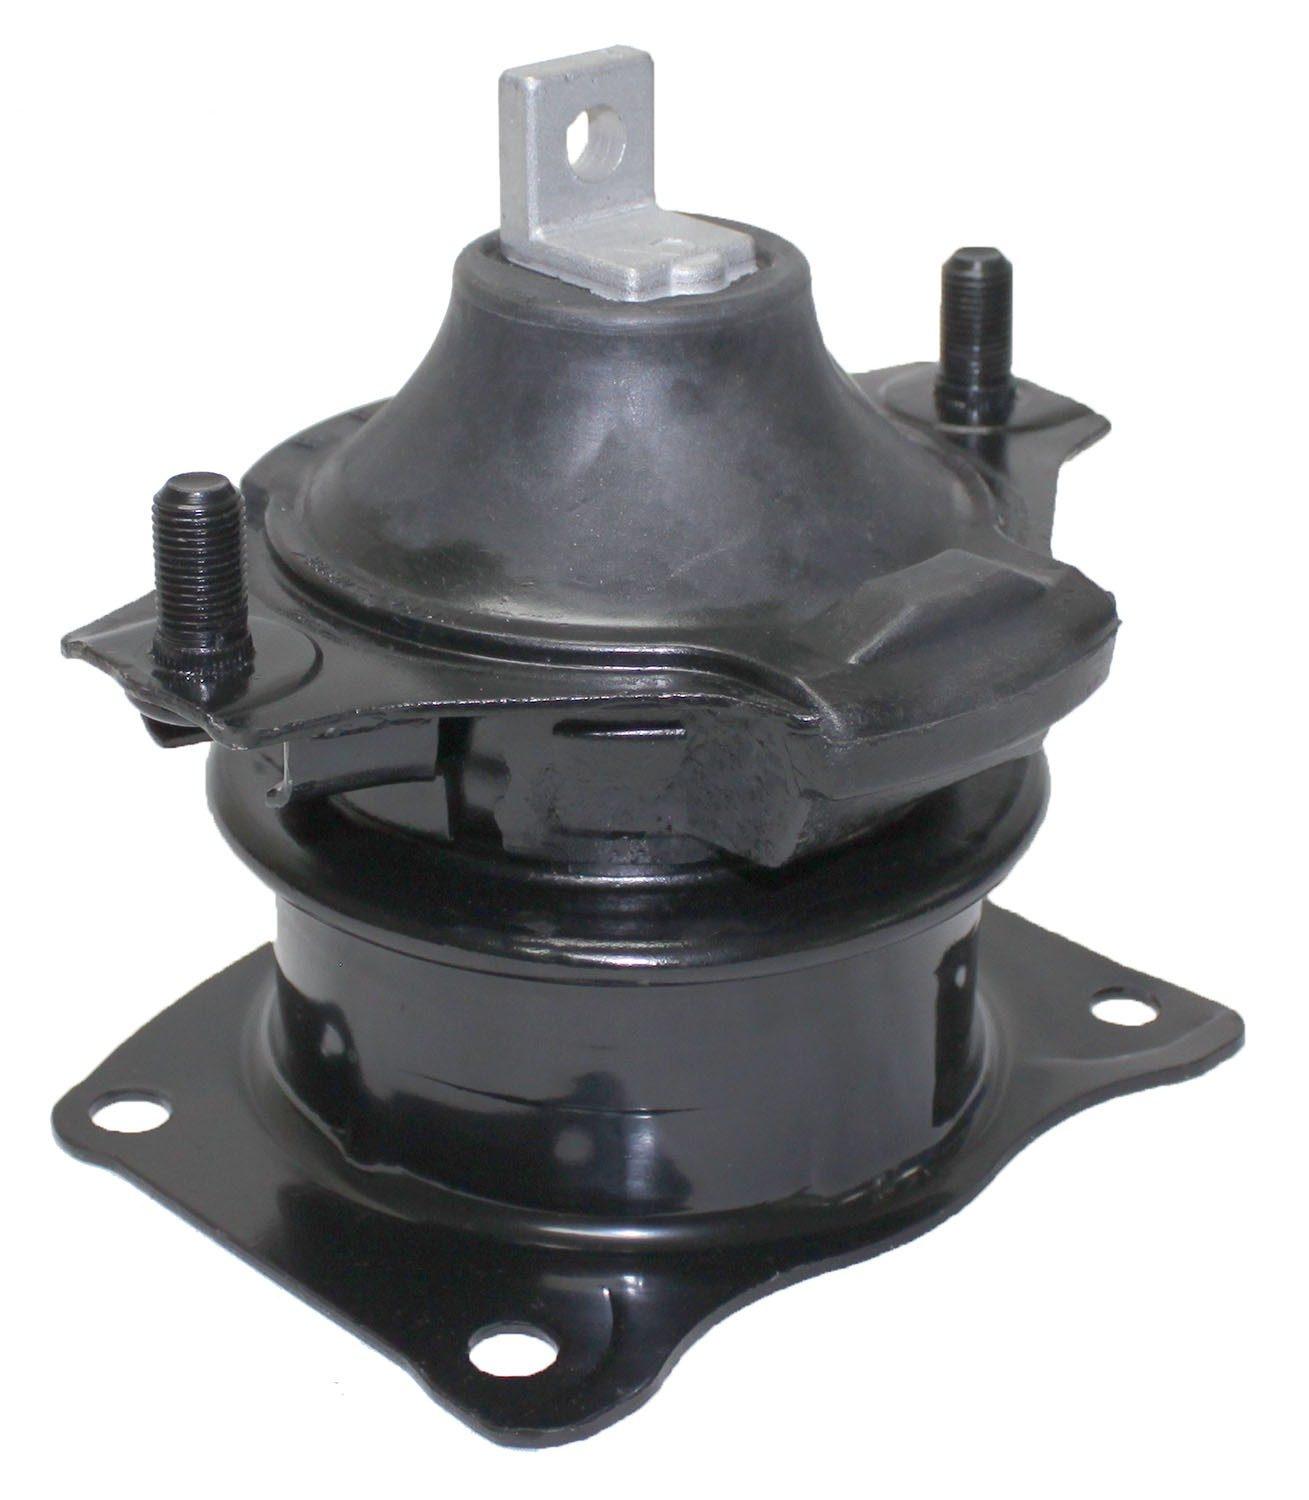 1
Front Engine Mount
Front
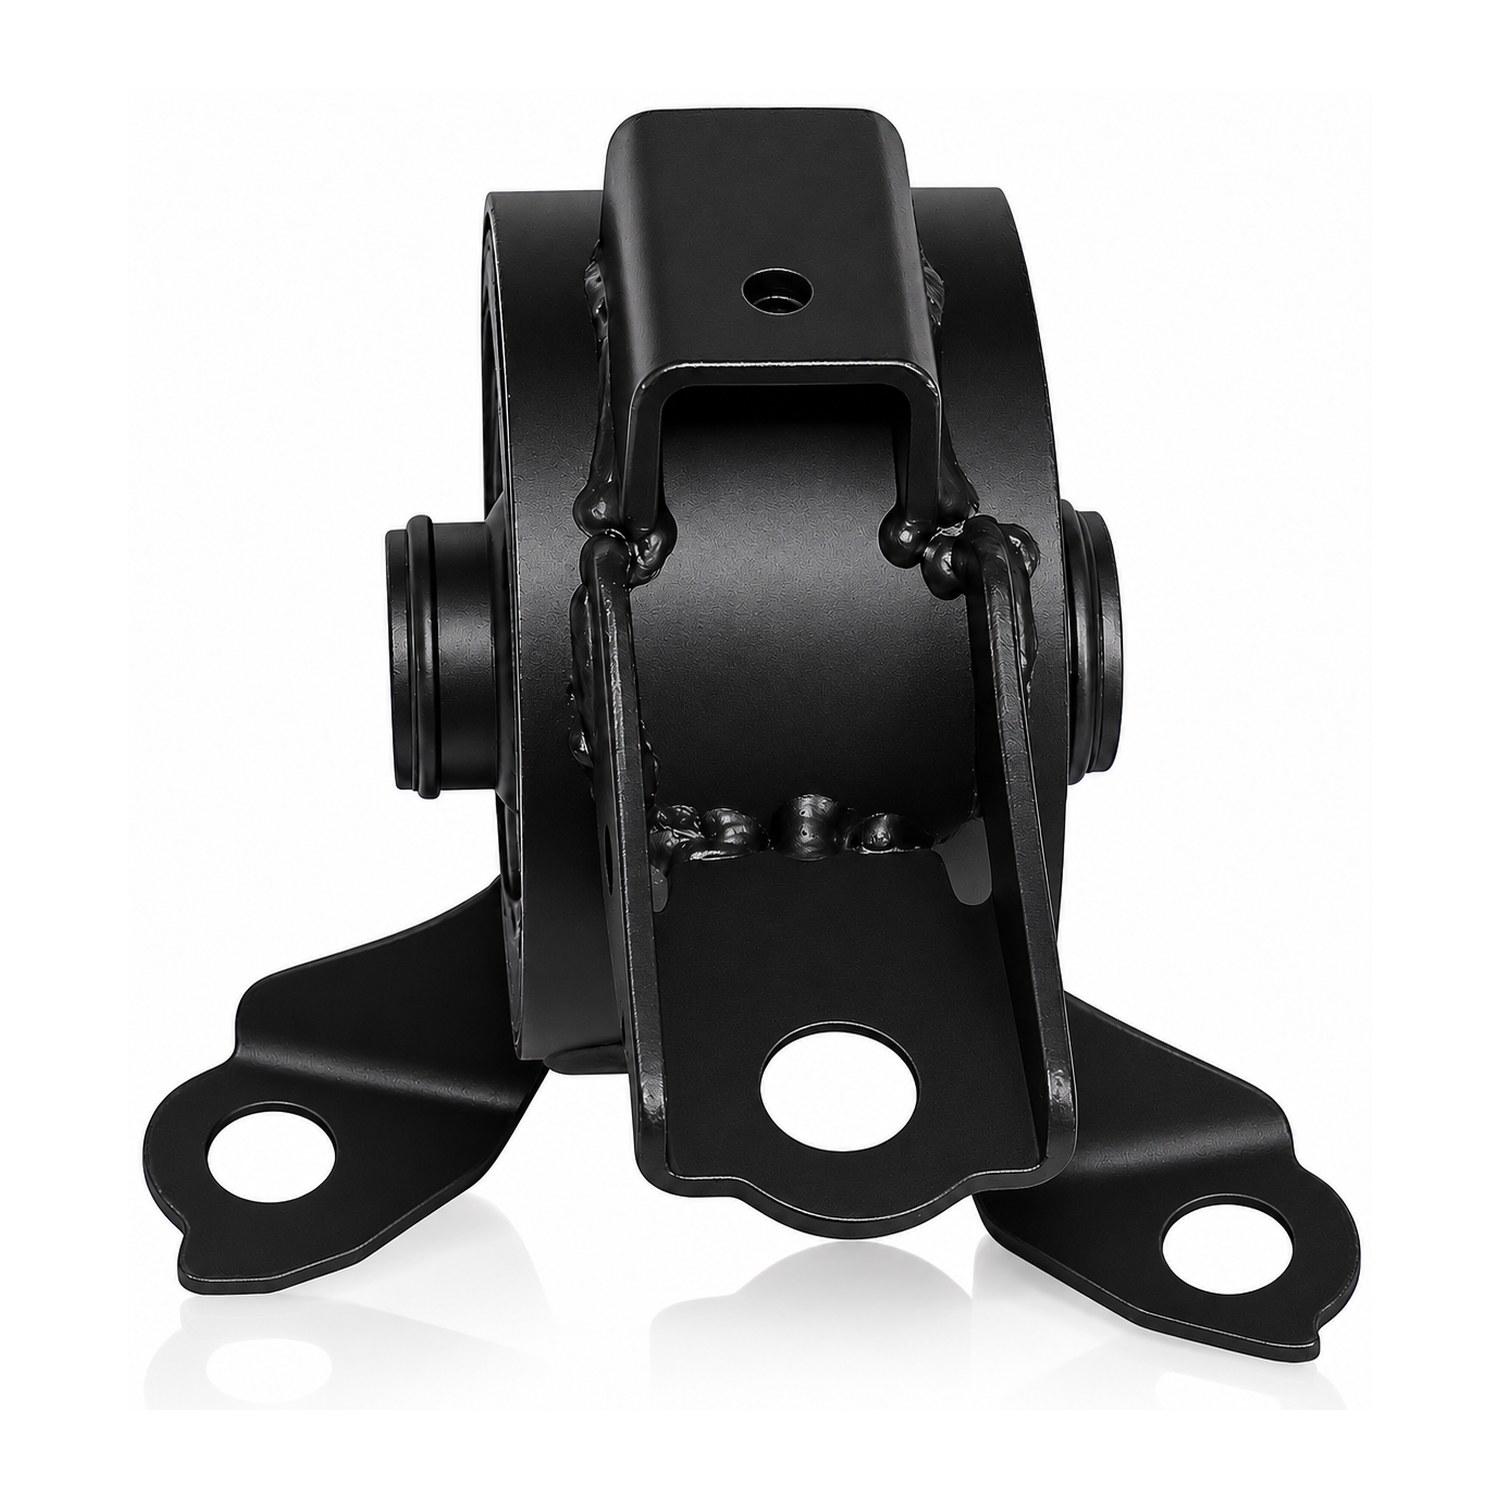 2
Front Right Engine Mount
Front Right
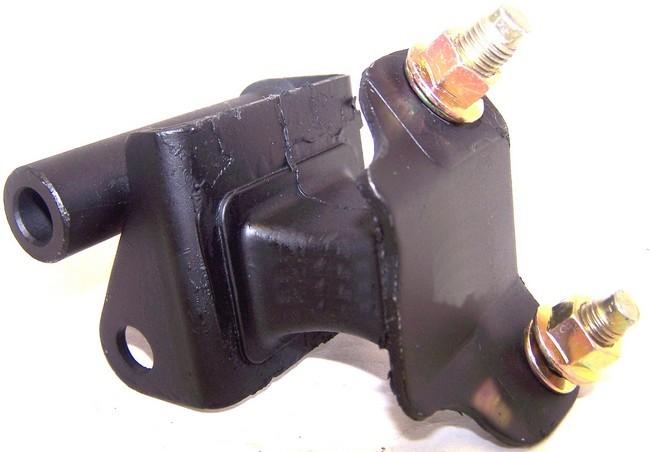 3
Rear Automatic Transmission Mount
Rear
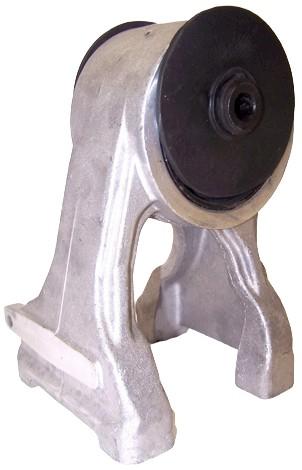 4
Rear Engine Mount
Rear
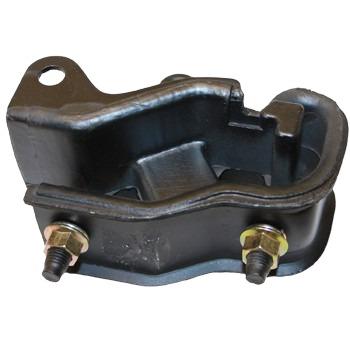 5
Front Automatic Transmission Mount
Front
Where each piece goes
- 1Front Engine Mount: Front
- 2Front Right Engine Mount: Front Right
- 3Rear Automatic Transmission Mount: Rear
- 4Rear Engine Mount: Rear
- 5Front Automatic Transmission Mount: Front
Install steps
- 1
Get the car ready
Park on level ground, set the parking brake and disconnect the battery. Lift the car and support it on jack stands.
- 2
Support the engine
Put a jack with a block of wood under the oil pan, or use an engine support bar. Do this before you take out any mount.
- 3
Front Engine Mount
Front. Remove the old mount and bolt the new one in hand-tight.
- 4
Front Right Engine Mount
Front Right. Remove the old mount and bolt the new one in hand-tight.
- 5
Rear Automatic Transmission Mount
Rear. Remove the old mount and bolt the new one in hand-tight.
- 6
Rear Engine Mount
Rear. Remove the old mount and bolt the new one in hand-tight.
- 7
Front Automatic Transmission Mount
Front. Remove the old mount and bolt the new one in hand-tight.
- 8
Tighten, lower, test
Lower the engine back down and tighten every bolt to your car's spec. Reconnect the battery, start the engine and check for movement or noise.
Torque values: Use the torque values in your car's service manual. We only show a number here once it is checked for your car.