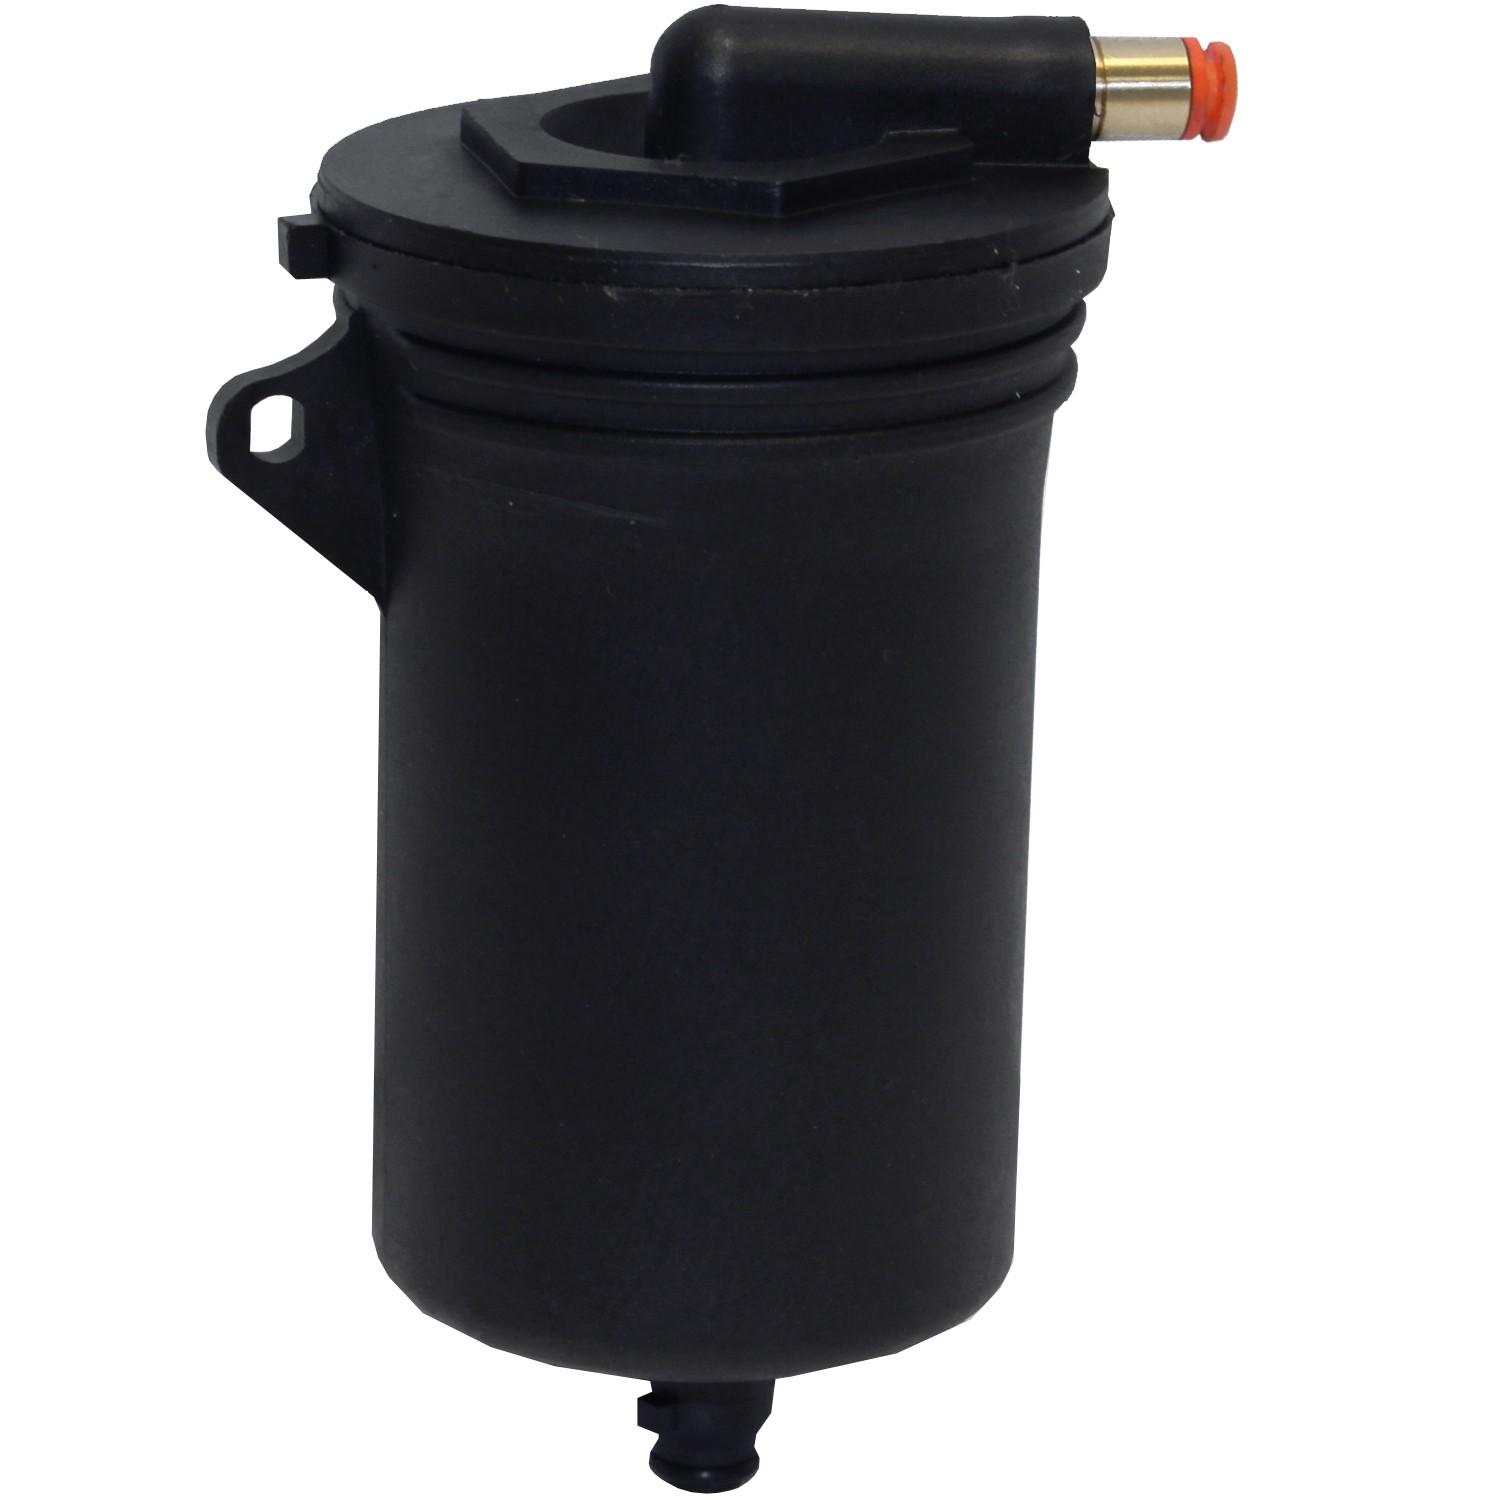
How to Install Air Suspension Compressor Dryer for Ford, Lincoln, Mercury DR-7906
The air suspension compressor is the heart of your air suspension system, providing pressurized air to the springs. When it fails, the vehicle may sag, fail to raise, or the compressor may run constantly. Replacing a worn compressor restores proper ride height and extends the life of other suspension components.
- Allow system to fully depressurize before disconnecting lines
- Do not run new compressor continuously - may need to prime system gradually
- Check for leaks at all connections before driving
Installation Steps
Disable System
Turn off the air suspension switch and disconnect the battery. Allow system to depressurize.
Access Compressor
Locate the compressor (usually in the trunk, under the vehicle, or in the engine bay). Remove any covers.
Disconnect Lines & Wiring
Disconnect electrical connector. Using air line tools, disconnect all air lines from the compressor/dryer.
Remove Compressor
Remove mounting bolts and lower compressor from vehicle. Note orientation of dryer if separate.
Install New Compressor
Mount new compressor, connect air lines (listen for click), and connect electrical connector.
Test System
Reconnect battery, enable air suspension. Start vehicle and cycle system by raising/lowering. Check for leaks.
Tools Required
- Socket set
- Torque wrench
- Air line disconnect tools
- Electrical connector release tool
- Safety glasses and gloves